
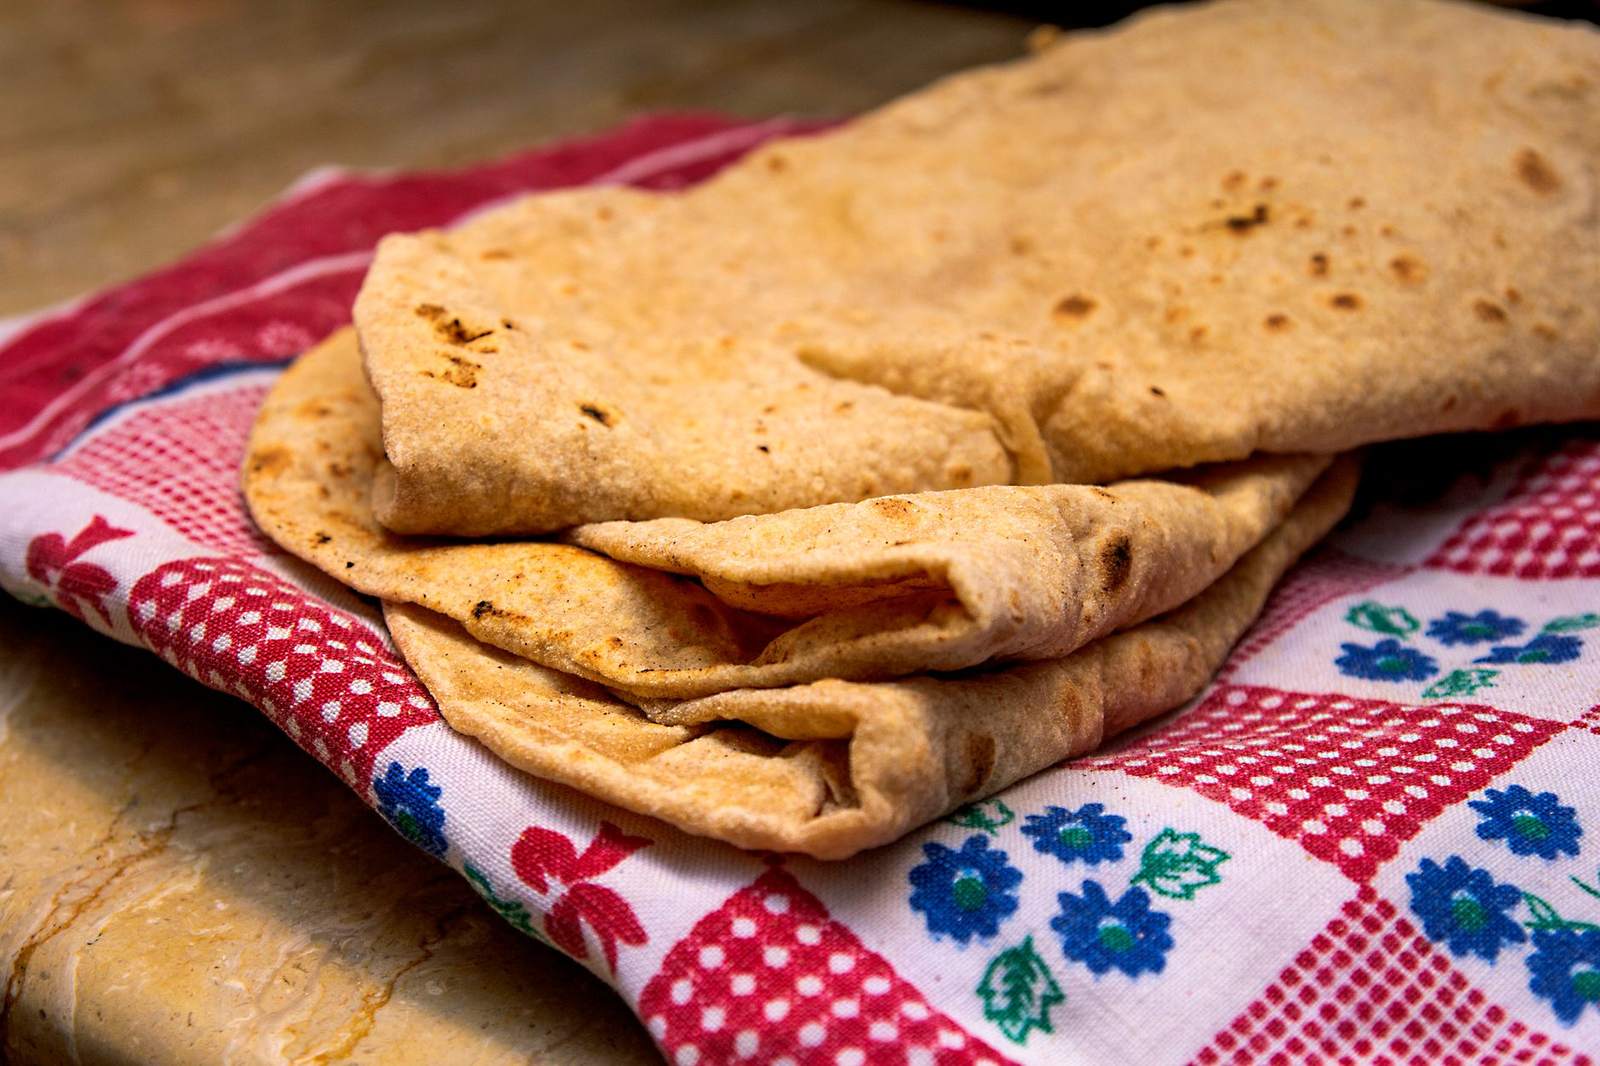
Chapati is an unleavened flatbread made from whole-wheat flour and water, rolled thin and cooked on a hot griddle until it puffs. Making it takes only flour and water, a short rest and some practice.
It is the everyday bread beside dal and vegetables in vegetarian cooking across South Asia, and this page walks through the dough, the rolling and the pan.
What chapati is
Wikipedia’s chapati entry describes chapati as an unleavened flatbread originating from the Indian subcontinent. It says chapatis are made of atta, a type of whole-wheat flour, mixed into dough with water, and cooked on an iron griddle known as a tava, then puffed up over direct heat. The term phulka, meaning ‘puffed’, is also used, referring to a chapati that is puffed up over a flame.
The same entry explains that chapati is also called roti, and that roti is a broad term for bread in the Indian subcontinent. In practice, most home cooks use the words interchangeably for the thin, soft, everyday wheat flatbread served at nearly every meal.
Choosing the flour
The flour makes the bread. As the Wikipedia entry on atta flour explains, whole common wheat (Triticum aestivum) is generally used to make atta, and it has a high gluten content, which provides elasticity, so the dough made out of atta flour is strong and can be rolled into thin sheets. The entry adds that atta includes every component of the grain, meaning the bran, germ and the endosperm.
That is why ordinary white flour is not a good substitute. A mixture of white flour and whole-wheat flour will work in a pinch, but it will not behave like true atta: the dough tends to be less supple, and the bread less sweet and nutty. If a South Asian grocery is nearby, look for a bag labeled atta or chapati flour.
Making the dough
Chapati dough needs little more than flour and water. According to the Wikipedia chapati entry, the flour is mixed with water, typically 60 to 80 percent the weight of the flour, to form a smooth, soft dough. Salt is optional, and oil is optional too, with about 5 millilitres per 100 grams of flour; it is kneaded into the dough after the other ingredients. The dough does not contain yeast.
- Atta (whole-wheat flour)
- Warm or room-temperature water
- A pinch of salt, optional
- A little oil or ghee, optional
- Extra atta for dusting while rolling
Add the water gradually rather than all at once. Flours differ in how much they absorb, so the goal is a dough that feels soft, smooth and slightly tacky but does not stick to the hands.
Kneading and resting
Kneading is where the bread gets its texture. The Wikipedia entry says the dough is kneaded by hand for 10 to 15 minutes, reaching a firm consistency and developing gluten. That sounds long, but a steady press-fold-turn rhythm gets there quickly, and a few drops of water on the palm help if the dough feels dry.
Then the dough has to rest. The same entry notes it is left to rest for 30 to 120 minutes, though mechanically mixed dough may be rested for only 15 to 20 minutes. Cover the bowl with a damp cloth so a skin does not form. Resting lets the gluten relax, which is what makes the dough easy to roll and the finished bread soft instead of tough. If excess dough is prepared, it may then be refrigerated for one day, according to the same source.
Shaping and rolling
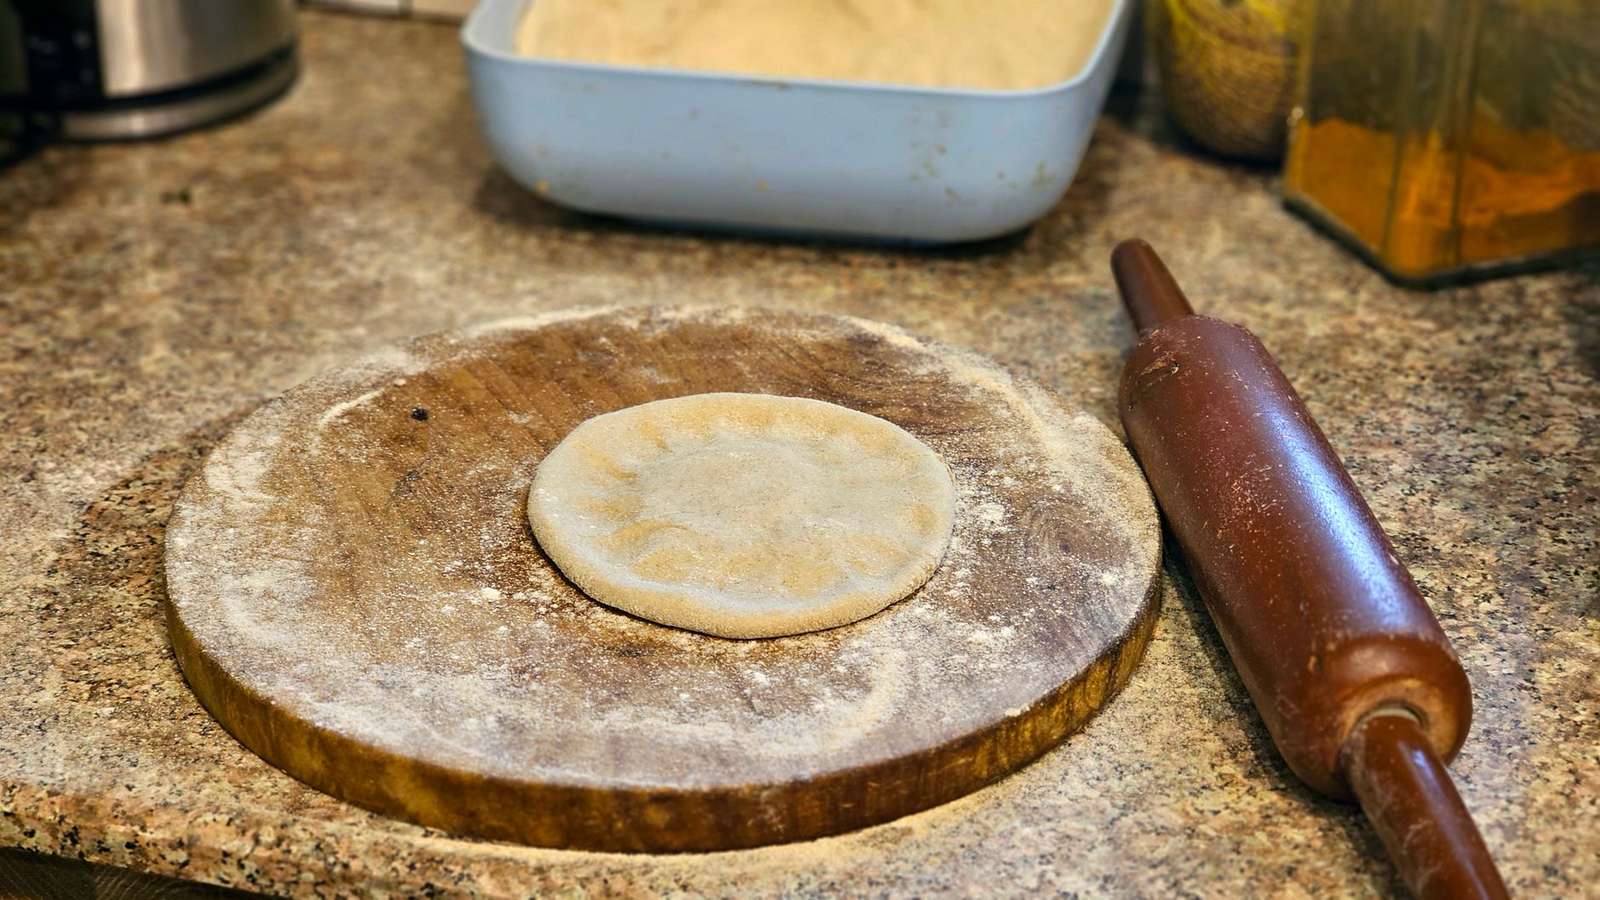
Divide the dough into equal pieces. The entry gives portions of the dough weighing 25 to 40 grams (0.9 to 1.4 oz), formed into balls that are rolled into a circle about 10 to 18 centimetres (4 to 7 in) across and 2 to 3 millimetres thick.
- Roll each portion between the palms into a smooth ball, with no cracks on the surface.
- Flatten the ball slightly and dip it in dry atta so it will not stick.
- Roll from the center outward with a thin rolling pin, giving the dough a quarter turn after each pass so it stays round.
- Dust lightly with more atta only when the dough starts to stick, since too much flour dries the bread.
- Shake off any excess flour before the rolled disc goes on the pan.
Even thickness matters more than perfect roundness. The source explains that rolling to an even thickness is necessary for uniform cooking and puffing, and that if chapati is too thin, it may become too dry, and if it is too thick, it may be undercooked.
Cooking on the pan
The pan should be hot and completely dry, with no oil. According to the Wikipedia entry, chapati cooks at 200 to 220 °C (392 to 428 °F) for 1 to 2 minutes, which it breaks down as about 45 seconds on one side and 90 seconds on the other, being flipped once bubbles start to form.
A home cook does not need a thermometer. Watch the dough: when small bubbles appear on the top, flip it, let the second side cook until it develops light brown spots, and then flip once more if needed. The entry also says that sometimes it is only partially cooked on the skillet, and then cooked directly over a flame or hot coals for a few seconds to puff up. On an electric stove, press the edges gently with a folded dry cloth to push the steam toward the center.
The reason for the puff is simple. A chapati puffs up as moisture in the dough changes into steam, and that inflation leaves the bread soft and pliable. Brush the finished chapati with a little ghee if desired and stack the breads in a covered container so they stay warm and steam gently together.
What to serve with chapati
Chapati is a scoop and a plate at once: torn pieces are used to pick up dal, vegetables or stew. A greens dish is a classic partner, and the method in this site’s saag recipe is one of the most traditional pairings in northern India. A simple dal, a dry vegetable stir-fry or plain yogurt all work well too.
Whole grains also bring plant nutrients to the meal. MedlinePlus lists wheat among the plant sources of iron, though it notes that iron from vegetables, fruits, grains, and supplements is harder for the body to absorb. For ways to build meals around that fact, see the guide to the iron vegetarian diet on this site.
Keeping chapati soft
Chapati is at its best fresh. As the Wikipedia entry puts it, chapati is served hot, and it stales quickly. To keep a batch soft, stack the breads in a lined container or wrap them in a clean cloth as soon as they come off the heat, and avoid exposing them to open air.
Leftover chapatis can be wrapped and refrigerated, then warmed briefly in a dry pan so they regain their flexibility. Try to cook only as many as the meal needs, and keep the dough covered in the refrigerator for the next day rather than cooking the whole batch at once.
Anyone with a wheat allergy, celiac disease or another health condition, who is pregnant or who takes medication should check with a clinician before changing their diet. Chapati is a food, not a treatment, and nothing here is medical advice.
Frequently asked questions
Why is my chapati hard?
Hardness usually comes from dough that is too dry, dough that was not rested, or a pan that was not hot enough. Add water a little at a time, let the dough rest under a damp cloth, and cook on a properly preheated dry pan.
Why won’t my chapati puff?
Uneven thickness is the common cause, along with a pan that is too cool. If the disc is thicker in one spot, steam escapes before it can inflate the bread. Roll evenly and finish the bread over a direct flame or with gentle pressure from a dry cloth.
Can I use white flour?
Plain white flour makes a different bread that is softer but less nutty and less sturdy. For true chapati, atta is the right flour, since it is milled from the whole grain.
Is chapati the same as roti?
The two terms overlap. Roti is the broader word for bread, and in many homes it simply means the same thin wheat flatbread that others call chapati or phulka.